Ultimate Ultra Thick Bakery Style Chocolate Chip Cookies
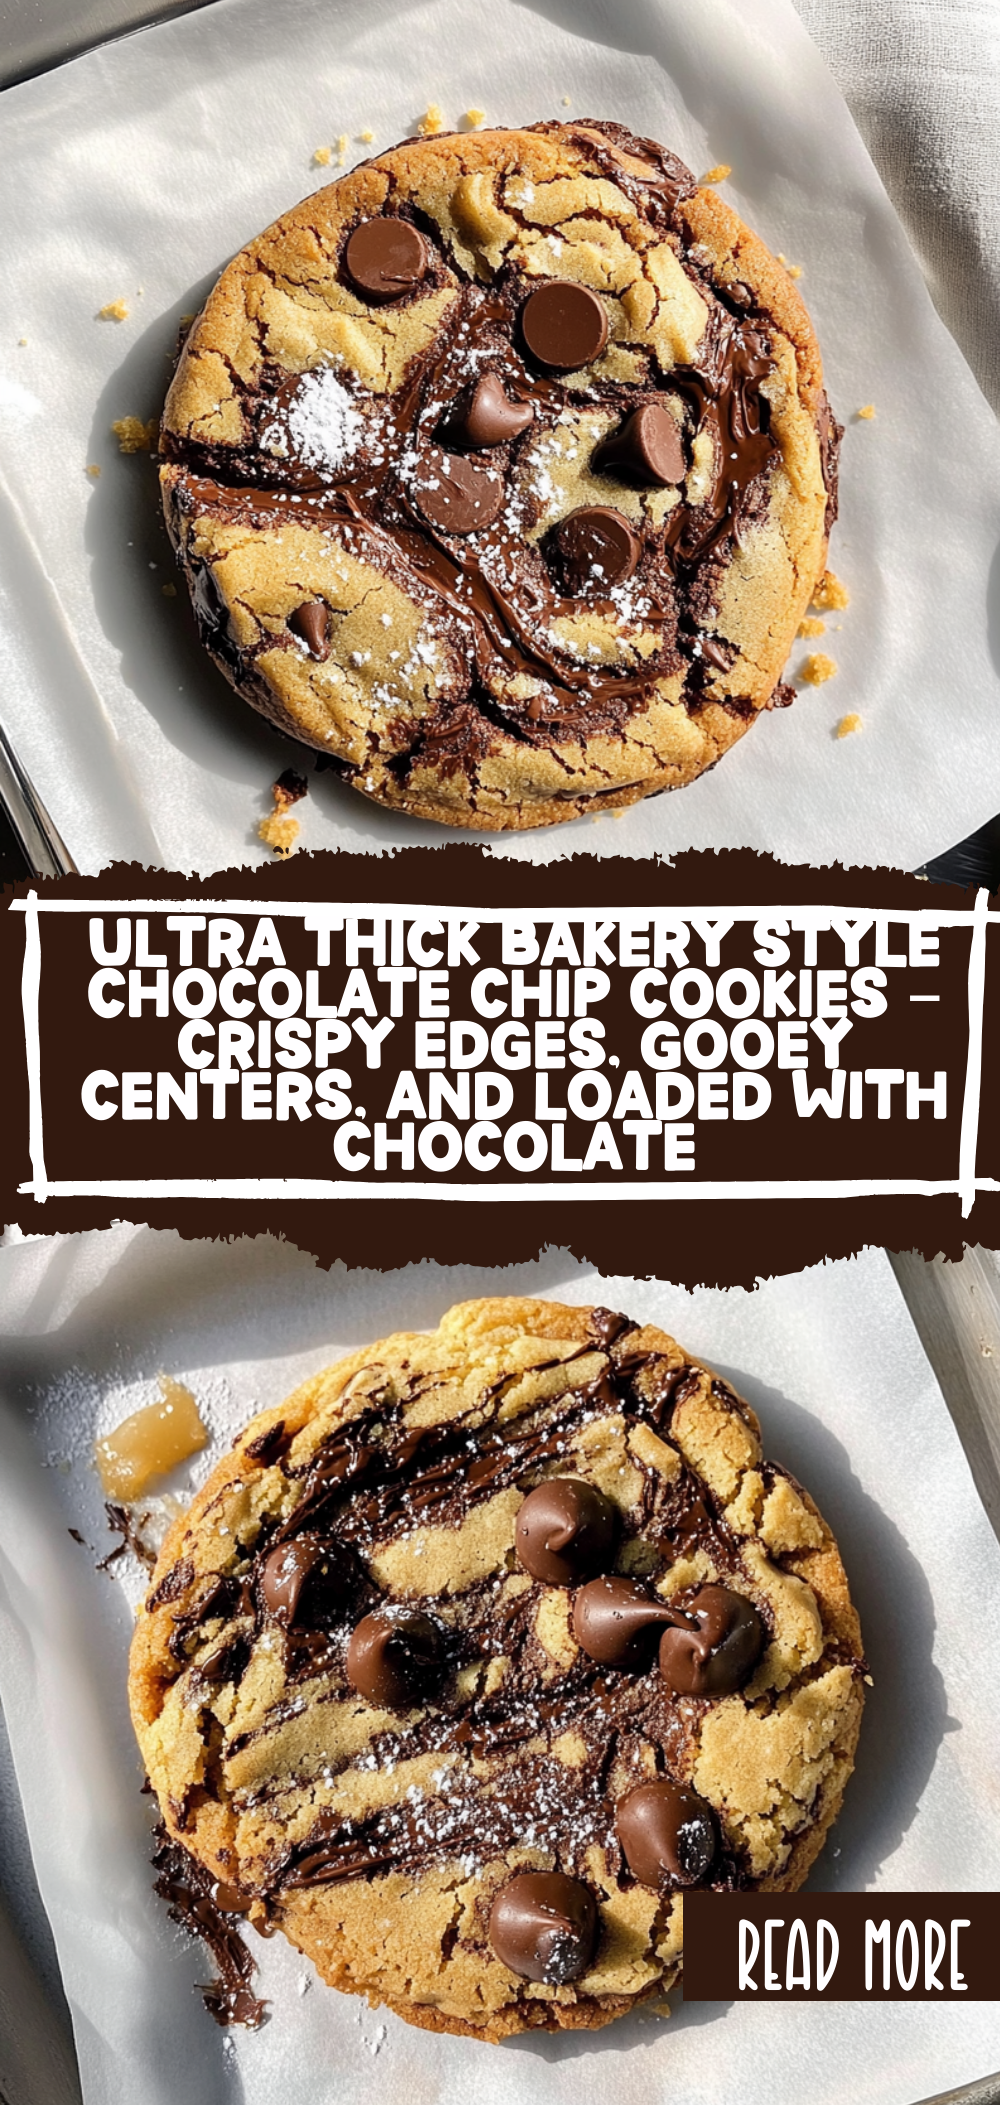
The Secret to Ultra Thick Bakery Style Chocolate Chip Cookies – Crispy Edges, Gooey Centers, and Loaded with Chocolate!
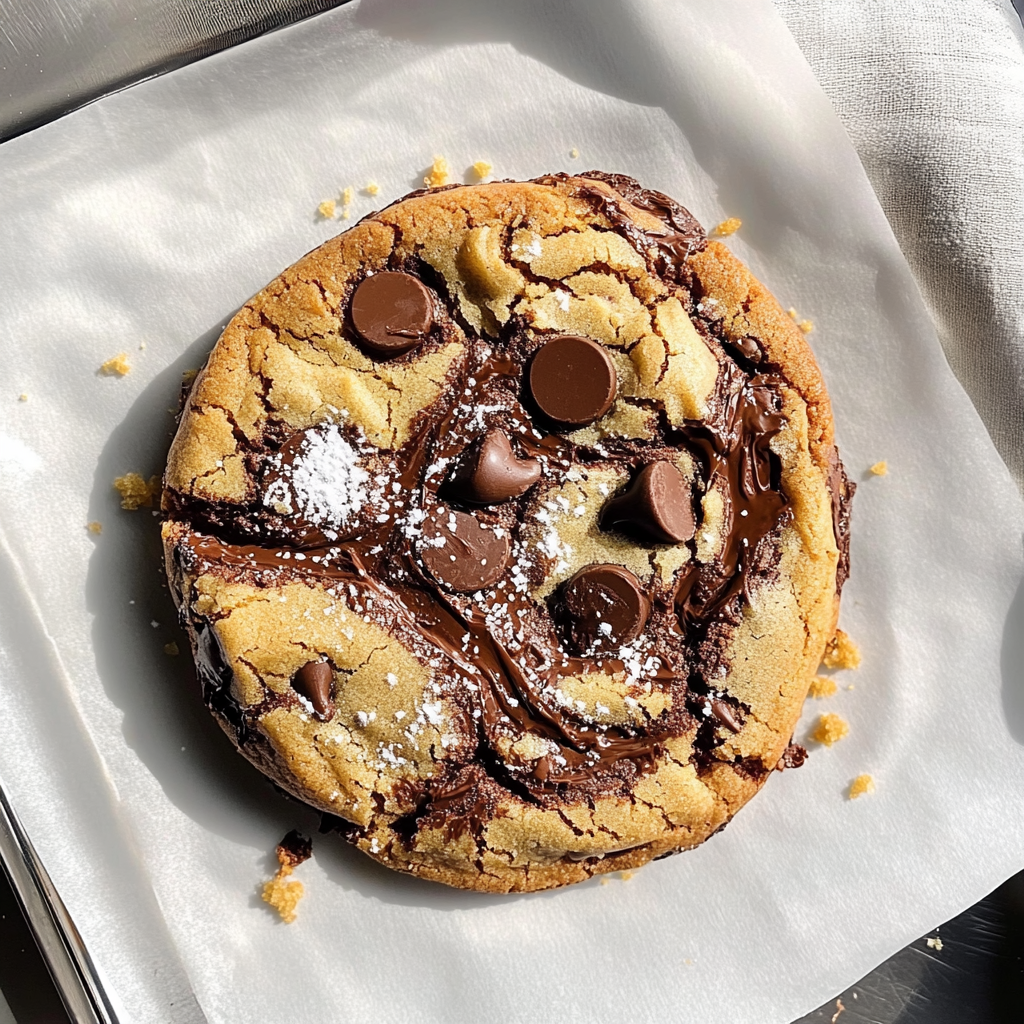
If you’ve ever walked into a bakery and been tempted by those giant, thick chocolate chip cookies, then you know the magic they hold. Ultra Thick Bakery Style Chocolate Chip Cookies – Crispy Edges, Gooey Centers, and Loaded with Chocolate! are the ultimate treat that brings that bakery experience right to your kitchen. Imagine biting into a cookie with perfectly crispy edges that give way to a gooey center bursting with rich chocolate flavors. It’s an indulgence you won’t soon forget!
These cookies are not just any ordinary dessert; they are the epitome of comfort food. Perfect for sharing (or not!), they promise to elevate any occasion or simply satisfy a late-night craving. With just a few simple ingredients and a little patience while they chill in the fridge, you’ll be on your way to enjoying these decadent treats.
Why You’ll Love This Ultra Thick Bakery Style Chocolate Chip Cookies – Crispy Edges, Gooey Centers, and Loaded with Chocolate!
– The ideal combination of crispy edges and gooey centers
– Bursting with rich chocolate flavor from multiple types of chips
– Simple ingredients mean easy preparation
– Impressive size makes them perfect for sharing
– A delightful texture that satisfies every cookie lover’s craving
Preparation Phase & Tools to Use
To make these delicious cookies, having the right tools on hand can make all the difference. Here are some essentials you’ll need:
– Mixing bowls: For combining dry and wet ingredients easily.
– Measuring cups and spoons: Precision is key to achieving the perfect cookie dough consistency.
– Baking sheets: Use heavy-duty ones for even baking results.
– Parchment paper: Prevents sticking and ensures easy cleanup.
– Cooling rack: Allows cookies to cool evenly without getting soggy.
Preparation Tips
For the best results, remember to chill your dough for at least 30 minutes before baking; this helps achieve that ultra-thick texture we all love. Make sure your butter is melted but not too hot—this keeps the dough from spreading too much during baking. Finally, feel free to mix different types of chocolate chips for a complex flavor profile!
Ingredients for this Ultra Thick Bakery Style Chocolate Chip Cookies – Crispy Edges, Gooey Centers, and Loaded with Chocolate!
– 2 large eggs
– 2½ cups all-purpose flour
– 1 teaspoon baking soda
– ½ teaspoon salt (or sea salt)
– 1 cup granulated sugar
– ½ cup packed light brown sugar
– 1 teaspoon vanilla extract
– 3 cups chocolate chips (use a mix of semisweet and dark for a bakery effect)
– 14 tablespoons unsalted butter (melted and slightly cooled)
– Optional for topping: Extra chocolate chips and flaky sea salt for that bakery-style finish.
Ultra Thick Bakery Style Chocolate Chip Cookies – Crispy Edges, Gooey Centers, and Loaded with Chocolate!
If you’re looking for the ultimate chocolate chip cookie experience, it’s time to skip the flat, basic kind and dive straight into a batch of Ultra Thick Bakery Style Chocolate Chip Cookies. These are the cookies of your dreams: thick, chewy, golden brown, and stuffed with pools of melty chocolate chips.
Inspired by those big, chunky cookies you find behind the glass at high-end bakeries, this recipe brings the chewy center, crisp edges, and extra height that makes every bite feel indulgent. And the best part? You can make them right at home with a handful of pantry staples and a little chilling magic.
Whether you’re baking for a celebration or just because you deserve a treat (spoiler: you do), these cookies are bold, beautiful, and 100% bakery-worthy.
Ingredients:
– 2 large eggs
– 2½ cups all-purpose flour
– 1 teaspoon baking soda
– ½ teaspoon salt (or sea salt)
– 1 cup granulated sugar
– ½ cup packed light brown sugar
– 1 teaspoon vanilla extract
– 3 cups chocolate chips (use a mix of semisweet and dark for a bakery effect)
– 14 tablespoons unsalted butter (melted and slightly cooled)
– Optional for topping: Extra chocolate chips and flaky sea salt for that bakery-style finish.
Step-by-Step Instructions
Step 1: Prepare Your Dough
Start by preheating your oven to 350°F (175°C). In a large mixing bowl, combine the melted butter with both sugars. Whisk until smooth and creamy. Incorporate the eggs one at a time, followed by the vanilla extract. This step is crucial as it helps create that rich flavor profile and ensures your dough is well-blended.
Step 2: Mix Dry Ingredients
In another bowl, whisk together the all-purpose flour, baking soda, and salt. This ensures an even distribution of the leavening agent throughout the dough. Gradually add this dry mixture to your wet ingredients. Use a spatula to fold it in gently until just combined—overmixing here can lead to tougher cookies!
Step 3: Add Chocolate Chips
Now comes the best part! Gently fold in the chocolate chips until they are evenly distributed throughout the dough. Feel free to go heavy on the chocolate; after all, we want every bite to be loaded with gooey goodness. If you’re feeling adventurous, toss in some chopped nuts or different types of chocolate for added texture!
Step 4: Chill Your Dough
This step is key to achieving that ultra-thick texture we love in bakery-style cookies. Cover your mixing bowl with plastic wrap or transfer the dough into an airtight container. Let it chill in the refrigerator for at least an hour—or even overnight if you can wait that long! This allows the flavors to meld together beautifully while also firming up the dough.
Step 5: Shape Your Cookies
Once chilled, use a cookie scoop or spoon to portion out generous balls of dough onto a lined baking sheet—leave plenty of space between each one as they will spread while baking. If you like, press a few extra chocolate chips on top for that classic bakery look.
Step 6: Bake to Perfection
Pop those beauties into your preheated oven and bake for about 12-15 minutes or until they start turning golden brown around the edges but remain soft in the center. They’ll continue cooking slightly once removed from the oven due to residual heat.
Step 7: Cool & Enjoy!
Allow your cookies to cool on the baking sheet for about five minutes before transferring them to wire racks to cool completely. This cooling period helps them set perfectly so you can enjoy those crispy edges alongside gooey centers!
Notes
These cookies are incredibly versatile! If you’re looking to switch things up, consider swapping out some of the all-purpose flour for whole wheat flour for added nutrition without sacrificing taste. You can also experiment with different types of chocolate chips—dark chocolate adds a nice richness while white chocolate offers sweetness. Want more texture? Add some oats or dried fruits like cranberries or cherries!
Watch Out for These Mistakes While Cooking
– Using cold ingredients straight from the fridge.
– Overmixing your dough after adding flour.
– Not chilling your dough long enough.
– Baking on ungreased or unlined sheets which may affect spreading.
Storage Instructions
To store any leftover cookies (if there are any!), simply place them in an airtight container at room temperature for up to one week. For longer storage, they freeze beautifully! Just layer them between parchment paper in an airtight bag or container; thaw them at room temperature when you’re ready to indulge again.
Estimated Nutrition
– Calories: Approximately 250 per cookie
– Protein: 3g
– Fat: 12g
– Carbohydrates: 35g
Frequently Asked Questions
What makes these cookies thicker than regular ones?
The secret lies in chilling the dough before baking! This helps prevent excessive spreading during baking and results in thicker cookies with chewy centers.
Can I use other types of flour?
Absolutely! You can substitute part of the all-purpose flour with whole wheat flour or even almond flour if you’re looking for gluten-free options—just adjust measurements accordingly.
How do I ensure my cookies stay soft?
Make sure not to overbake them; they should look slightly underdone when you take them out of the oven as they will continue cooking on their own while cooling.
Conclusion
I hope this recipe inspires you to whip up your own batch of Ultra Thick Bakery Style Chocolate Chip Cookies! There’s something truly special about homemade cookies—especially when they’re loaded with gooey chocolate goodness. Give it a try and let me know how yours turn out; I can’t wait to hear about your delicious creations!
Ultra Thick Bakery Style Chocolate Chip Cookies
Ingredients
Method
- Preheat your oven to 350°F (175°C). In a large mixing bowl, combine the melted butter with both sugars. Whisk until smooth and creamy. Incorporate the eggs one at a time, followed by the vanilla extract.
- In another bowl, whisk together the all-purpose flour, baking soda, and salt. Gradually add this dry mixture to your wet ingredients. Use a spatula to fold it in gently until just combined.
- Gently fold in the chocolate chips until they are evenly distributed throughout the dough.
- Cover your mixing bowl with plastic wrap or transfer the dough into an airtight container. Let it chill in the refrigerator for at least an hour—or even overnight.
- Once chilled, use a cookie scoop or spoon to portion out generous balls of dough onto a lined baking sheet.
- Bake for about 12-15 minutes or until they start turning golden brown around the edges but remain soft in the center.
- Allow your cookies to cool on the baking sheet for about five minutes before transferring them to wire racks to cool completely.